

Why Is My Shielded Metal Arc Welding (SMAW) Weld Bead Too Wide and Flat Instead of Convex
2026-08-10
A flat, wide bead in Shielded Metal Arc Welding (SMAW) is one of the most frustrating visual defects for any welder. You expect a smooth, slightly convex reinforcement, but instead, your weld lies spread out like a pancake with insufficient crown height. At United, we see this issue daily in shop floors and field repairs. The root cause almost always traces back to four controllable variables: travel speed, arc length, electrode angle, and amperage. Before you grind it out and re-weld, let us diagnose each factor systematically so you can restore proper bead profile and mechanical integrity.
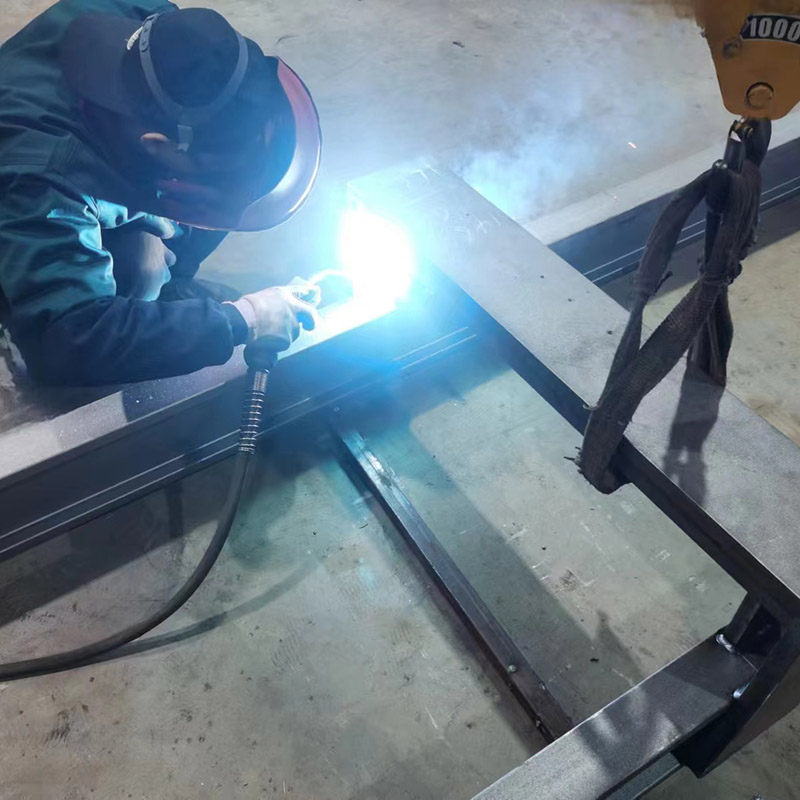
The 4 Primary Culprits Behind a Flat SMAW Bead
| Factor | Effect on Bead Shape | Ideal Setting for Convex Bead |
|---|---|---|
| Travel Speed | Too slow → wide, washed-out bead; too fast → undercut | 4–6 inches per minute (depending on rod size) |
| Arc Length | Long arc → shallow penetration, wide face width | Keep arc length equal to rod core diameter |
| Electrode Angle | Drag angle < 10° → slag runs ahead, flattens bead | Maintain 15°–25° drag angle (backhand) |
| Amperage | Excessive heat → fluid puddle spreads laterally | Use low-to-mid range of rod manufacturer's spec |
Detailed Diagnosis: Step-by-Step Correction
1. Travel Speed – The Most Common Mistake
When you move the electrode too slowly, the arc dwells in one spot, overheating the base metal. The molten puddle becomes excessively fluid and gravity pulls it outward, especially on flat positions. Increase your travel speed by 10–15% while keeping the arc tight. You should see the slag peel behind the puddle rather than cover it. A properly convex SMAW bead has a reinforcement height of 1/16 to 1/8 inch above the plate surface.
2. Arc Length – Shorter Is Stronger
Many welders instinctively pull the rod away to see the puddle clearly. That long arc expands the voltage, which widens the arc cone and produces a shallow, wide crater. For Shielded Metal Arc Welding (SMAW), your arc length should never exceed the diameter of the electrode's metal core. For a 1/8-inch E7018 rod, that means holding a 1/8-inch gap. Count to three – if you hear a hissing sound instead of a crisp crackle, you are too long.
3. Electrode Work Angle – The Hidden Variable
A perpendicular angle (90°) or a push angle (forehand) directs the arc force straight down, which spreads the puddle symmetrically outward. Switch to a drag (backhand) angle of 15° to 25° from vertical. This inclination points the arc force into the joint root, concentrating heat and depositing metal with a crowned profile. At United, our field technicians always start with a 20° drag angle for flat and horizontal fillets.
4. Amperage – The Heat Balance
Running 10–15 amps above the recommended range turns your puddle into water. Drop your amperage to the lower third of the rod's published range. For example, if an E6010 1/8-inch rod lists 75–125 amps, start at 80 amps and increase only if you experience sticking. Lower heat reduces fluidity, allowing surface tension to form that desirable convex shape.
Quick Troubleshooting Table by Rod Type
| Electrode Class | Typical Flat Bead Cause | Immediate Fix |
|---|---|---|
| E6010 (cellulosic) | Excessive arc force (dig setting too high) | Reduce arc force control to 30–40% |
| E7018 (low-hydrogen) | Travel speed below 4 ipm | Briskly advance – this rod freezes fast |
| E7024 (iron-powder) | Amperage above 150A for 1/8" | Drop to 130A – it already deposits wide by design |
Beyond Bead Shape – Mechanical Risks
A flat bead is not just cosmetic. It means reduced throat thickness in fillet welds, which directly undermines load-bearing capacity. For a 1/4-inch fillet, a flat bead may deliver only 65% of the required leg size. Additionally, shallow penetration from long-arc conditions leaves a fusion line vulnerable to fatigue cracking. Correcting the profile restores both appearance and structural integrity – something United prioritizes in every training module we deliver.
Frequently Asked Questions About Shielded Metal Arc Welding (SMAW) Bead Profile
Q: Can I fix a flat bead by simply weaving the electrode side-to-side?
A: No – weaving actually worsens the problem. A weave motion increases the puddle's width and promotes a flatter crown, especially if you pause at the toes. For flat-position Shielded Metal Arc Welding (SMAW), use a straight stringer bead with no oscillation except for slight side pressure to ensure fusion. If you need wider coverage, increase rod diameter rather than weaving. The only exception is vertical-up weaving, but that is a separate technique with a different electrode manipulation pattern.
Q: How do I distinguish between a flat bead caused by low travel speed versus one caused by excessive amperage?
A: Look at the weld toes. Excessive amperage produces undercut along both edges – the base metal is literally melted away beside the bead. Low travel speed, on the other hand, leaves a smooth, rolled-out edge without undercut, often accompanied by heavy slag coverage that is difficult to remove. To test, run a short coupon at your current settings, then reduce amperage by 10 amps while keeping the same speed. If the bead narrows, your amperage was the culprit. If it stays wide, increase your speed. This two-step diagnostic is standard in United's certification workshops.
Q: Does the type of base metal affect how flat the SMAW bead becomes?
A: Absolutely. Thinner gauge metals (under 3/16 inch) conduct heat poorly, causing the puddle to spread faster because the base metal cannot sink heat away quickly. Heavier plates (1/2 inch and above) act as a heat sink, so the same amperage produces a stiffer, more convex bead. For thin materials, reduce amperage by 15–20% and shorten the arc to 1/16 inch. Also, consider using a smaller electrode – switch from 1/8 inch to 3/32 inch – which naturally produces a tighter, more crowned profile in Shielded Metal Arc Welding (SMAW).
Final Checklist Before Your Next Weld
-
□
Set travel speed to 4–6 ipm (use a stopwatch over 6 inches)
-
□
Keep arc length = rod core diameter (visually check with a gap gauge)
-
□
Adjust drag angle to 20° (mark your stinger with a protractor once)
-
□
Verify amperage – start low and creep up only if needed
-
□
Observe slag peeling – it should curl up behind the arc, not flood ahead
A flat, wide bead is never a mystery – it is always a combination of these four levers. By methodically adjusting each one, you will achieve consistent convex reinforcement that passes visual inspection and bend tests alike. United has helped thousands of welders refine their SMAW technique through hands-on troubleshooting guides and on-site coaching. We know that every minute spent grinding out a bad bead is a minute lost on productivity.
Ready to eliminate bead defects for good? Contact United today – our team of certified welding engineers will review your procedure specifications, recommend optimized parameters for your specific joint design, and even send a field specialist to your facility if needed. Visit our website or call our support line to schedule a free 15-minute consultation. Your next weld should be your best weld – let United make that happen.