

How can a polisher improve the surface finish of 3D printed resin models
2026-05-28
For enthusiasts and professionals working with resin-based 3D printing, layer lines and surface dullness remain persistent challenges. A high-quality polisher transforms a rough, matte-finished print into a crystal-clear, injection-molded part. Genuinsky offers precision polishing tools engineered specifically for delicate resin surfaces, bridging the gap between raw print and professional-grade finish.
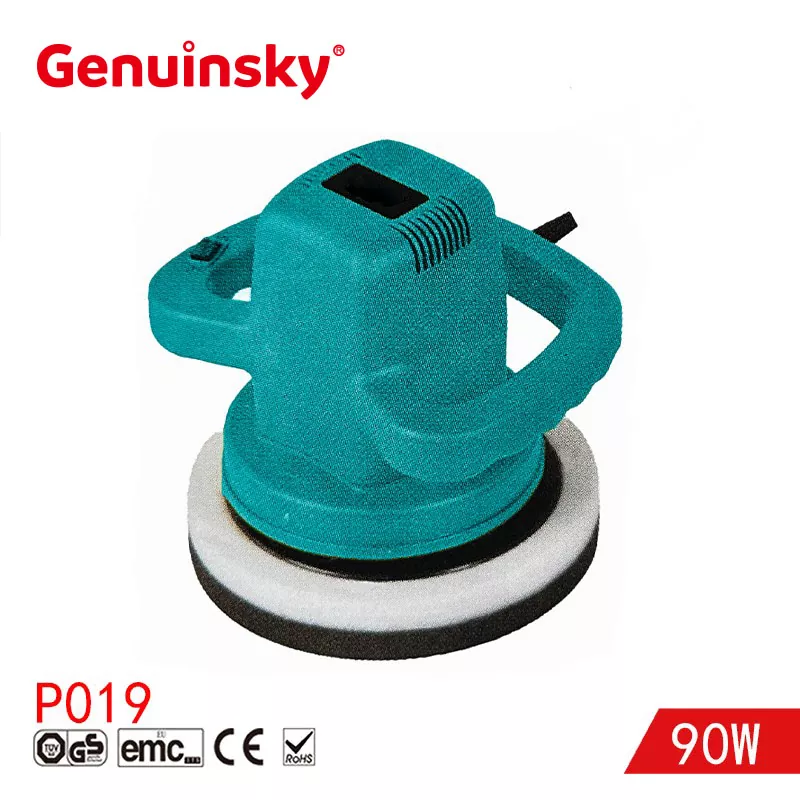
Understanding the Resin Polishing Process
Raw resin prints often exhibit visible layer steps and a cloudy appearance due to residual uncured material or support marks. Traditional sanding can be time-consuming and inconsistent. A variable-speed polisher equipped with soft foam or microfiber pads applies controlled friction and heat, melting microscopic peaks level with valleys without altering dimensional accuracy. When paired with Genuinsky polishing compounds, users achieve optical clarity comparable to cast acrylic.
Comparison of Polishing Methods
| Method | Surface Result | Time per Model (5cm part) | Risk of Damage |
|---|---|---|---|
| Manual sanding (400-2000 grit) | Matte to semi-gloss | 15–20 minutes | Low |
| Polisher with fine compound | High gloss, scratch-free | 4–6 minutes | Very low (with speed control) |
| Vapor smoothing (IPA) | Glossy but softened details | 10 minutes | High (detail loss) |
Step-by-Step Polishing Workflow for Resin Models
-
Remove supports and wash the model thoroughly with IPA.
-
Cure the model completely to prevent tackiness.
-
Start with a Genuinsky polisher set to 1500–2000 RPM using a soft pad.
-
Apply a fine (3–5 micron) polishing compound evenly.
-
Move the polisher in overlapping circular passes for 30–60 seconds.
-
Wipe clean and inspect under direct light.
Polisher FAQ Common Questions
Q1: Can a polisher remove deep layer lines on resin prints without destroying fine details?
A1: Yes, but only when using a dual-action polisher with a very soft foam pad and ultra-fine liquid compound (below 3 microns). The key is to keep the polisher moving continuously and apply light pressure (under 500 grams). Deep layer lines require initial hand-sanding with 600-grit paper before machine polishing. Genuinsky pads are pre-graded for resin hardness, ensuring that even intricate features like panel lines or text remain sharp while the surface becomes mirror-like.
Q2: What speed setting on a polisher works best for clear resins prone to heat distortion?
A2: Clear or translucent resins are heat-sensitive. The ideal polisher speed range is 1200 to 1800 RPM. Below 1200 RPM, the compound does not activate properly, leaving micro-scratches. Above 1800 RPM, friction heat can cause localized softening or white stress marks. Genuinsky variable-speed polishers include a preset "Resin Mode" that gradually ramps from 1000 to 1700 RPM. Always work in 15-second bursts and let the model cool for 10 seconds between passes.
Q3: How do I clean my polisher pads after polishing resin models to reuse them safely?
A3: Resin dust and compound residue harden quickly. After using a polisher, remove the pad immediately. Spray it with 99% isopropyl alcohol and use a soft brush to dislodge debris. Never use compressed air, as it drives particles deeper. Allow the pad to air dry completely for 24 hours before reuse. Genuinsky pads are made of open-cell foam that resists resin clogging, but they should be replaced after 15–20 polishing cycles to prevent cross-contamination and surface scratching.
Advanced Tips for Professional Results
-
Always test the polisher on a sacrificial model or underside first.
-
For transparent resins, finish with a Genuinsky glaze compound at 1000 RPM for 30 seconds.
-
Clean the surface with distilled water between compound stages.
Contact Us
Ready to elevate your resin prints to gallery-quality finishes with a professional polisher? Genuinsky provides a full range of polishing systems, replacement pads, and technical guides tailored for 3D printing. Visit our contact page to speak with a finishing specialist or request a sample kit for your next project.